Visual inspection
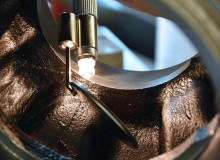
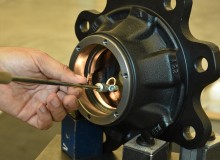
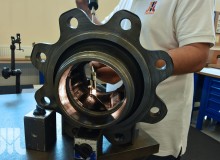
A set of equipment for visual inspection enables us to inspect castings, forgings and
welded joints. The main purpose of the inspection is to check the surface condition
(e.g. for corrosion or erosion changes, cracks), control shape deviations and control the
object after repair. Visual inspection is a direct naked-eye inspection of surfaces that
are accessible without additional instruments.
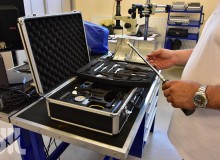
Equipment and parameters:
• weld gauges, luxmeter, slide caliper, lamp, magnifying glass, lighted inspection mirrors, thermometer
Application:
• visual non-destructive testing (VT) – assessment of welding non-conformities using visual method
according to PN-EN ISO 6520-1, PN-EN ISO 17635, PN-EN ISO 17637 standards
• precise measurements of geometry of welded joint
Research and Development Center
- About the Center
- Accredited laboratories
- Test offer
- Material tests
- Non-destructive tests
- Power hydraulics tests
- Static and dynamic tests
- Axle tests
- Wheel tests
- Prototype testing
- Falling object protective structure (FOPS) tests
- Vehicle stability tests
- Electrical quantities tests
- Machine noise testing
- Environmental and climatic tests
- Chemical tests
- Approval tests
- CBR services
- Contact CBR
